In this Raspberry Pi Apache project, we will be showing you how to install and setup an Apache web server on the Raspberry Pi.
By itself, Apache can serve HTML files over the HTTP and HTTPS web protocols. Alongside additional modules such as PHP, Apache is also able to serve dynamic content.
Apache is one of the most popular web servers available for the Raspberry Pi. Apache alone accounts for 44% of all web servers in the world.
Within this Raspberry Pi Apache tutorial, we will be walking you through the steps to setting up Apache, installing PHP, and also creating your first basic Apache VirtualHost file.
In this tutorial, we touch on all the basics of Apache, however, do not touch on setting up MYSQL and PHPMyAdmin. We also don’t cover setting up WordPress on the Raspberry Pi. These are all topics covered in separate tutorials.
Equipment List
Below are all the bits and pieces that I used for this Raspberry Pi Apache Web Server tutorial.
- Raspberry Pi
- Micro SD Card
- Power Supply
- Ethernet Cable or Wi-Fi
How to Install the Apache Web Server on the Raspberry Pi
1. Before we install Apache to our Raspberry Pi, we must first ensure the package list is up to date by running the following two commands.
sudo apt-get update
sudo apt-get upgrade
2. First, we will need to install the Apache2 package on our Raspberry Pi.
For those who don’t know what Apache is, it is a server software that serves the HTML files from a computer to the web browser.
To install apache2 on your Raspberry Pi, enter the following command into the terminal.
sudo apt install apache2 -y3. With Apache2 installed to our Raspberry Pi, we now have an extremely basic web server up and running. The server will be able to provide non-dynamic content such as HTML files.
In the next section, we will be extending this basic Apache web server by installing PHP to the Raspberry Pi.
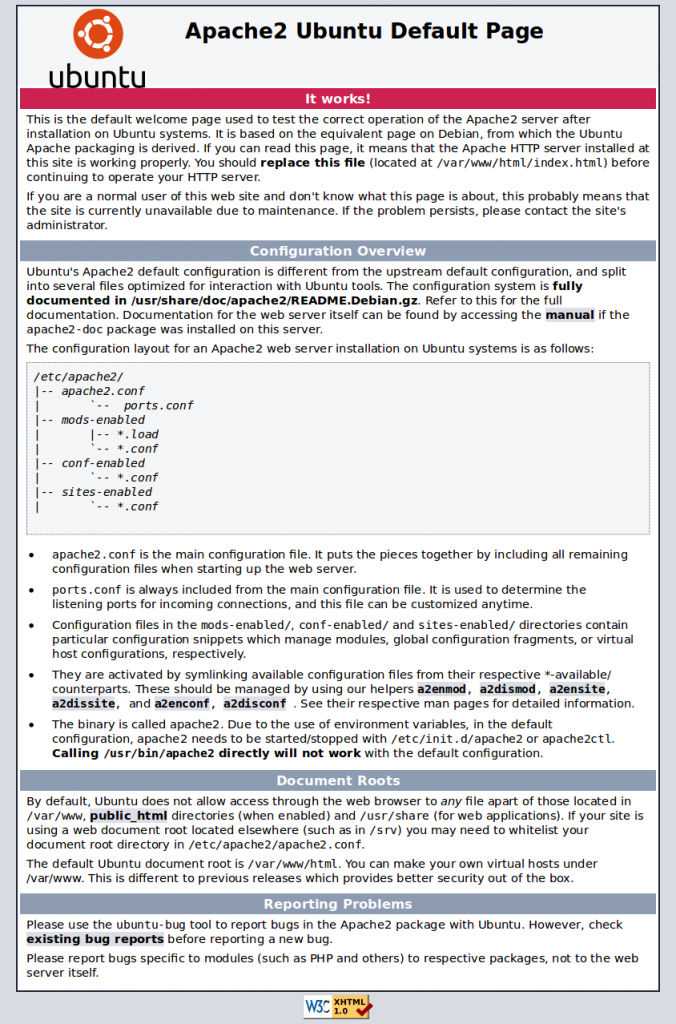
To check that Apache is up and running on your Raspberry Pi, you can enter the Raspberry Pi’s IP address into a web browser. The server should return a webpage with some simple text on it.
If you do not know the IP, you can enter the hostname command into the terminal to retrieve it.
hostname -I4. In a web browser, enter your Raspberry Pi’s IP Address, it should connect and load a page like the one below.
5. To be able to make changes to the files within the /var/www/html without using root we need to setup some permissions.
Firstly, we add the user pi (our user) to the www-data group, the default group for Apache2.
Secondly, we give ownership to all the files and folders in the /var/www/html directory to the www-data group.
sudo usermod -a -G www-data pi
sudo chown -R -f www-data:www-data /var/www/html
Once you have run that command, you will need to logout and then log back in for the changes to take effect.
6. You can now make changes to the default web page by running the following command.
This command will use the nano text editor to modify the index.html file.
The web server will serve all files within the /var/www/html/ directory.
sudo nano /var/www/html/index.htmlApache is a basic web server and is great if you want to learn HTML, JS, or CSS.
However, if you are after PHP (Used for dynamic web pages) then continue to the next section of our Raspberry Pi Apache tutorial.
Setting up PHP7 for Apache
1. Please note that before you start this section, you should be running at least Raspberry Pi OS Bullseye.
To start this section, we will need to go ahead and install PHP 7.4 and several other packages to our Raspberry Pi. The additional packages we are installing are ones that are commonly used by PHP applications.
Lucky for us installing all the packages we need is a simple process as PHP 7.4 is available in the Raspberry Pi OS Bullseye package repository.
Run the following command to install all the PHP packages to your Raspberry Pi.
sudo apt install php7.4 libapache2-mod-php7.4 php7.4-mbstring php7.4-mysql php7.4-curl php7.4-gd php7.4-zip -yWhile these packages are available on Raspberry Pi OS Bullseye, installing these on older versions is possible. To install this PHP version on older releases you will need to add a third-party PHP repository.
2. Now that PHP is installed to our Raspberry Pi, we can test it to make sure it’s working.
We don’t have to worry about modifying any configuration files as this is automatically done when Apache is detected.
We can test to see PHP is working by creating a PHP file within the /var/www/html/ directory. Creating a file in this directory will allow it to be processed and displayed when you open it in a web browser.
For our example, we will be creating a PHP file called example.php. We can create this file by issuing the following command.
sudo nano /var/www/html/example.php3. In this file, we need to add the following lines on PHP code.
<?php
echo "Today's date is ".date('Y-m-d H:i:s');
The code above is just an incredibly simple PHP script that prints out today’s date retrieved using PHP’s date() function. It will be enough to tell us that PHP is, in fact, up and running.
4. Now save the file by pressing Ctrl + X then pressing Y and hitting ENTER.
5. In your web browser, go to http://192.168.1.103/example.php.
Make sure you replace 192.168.1.103 with your Raspberry Pi’s IP Address.
Going to the following URL should display something like the following.
Today's date is 2019-06-28 21:30:45Setting up an Apache Virtual Host
Virtual hosts are an essential part of the way Apache works. Apache uses these Virtualhost files so that it knows how to handle an individual site.
Within this section, we will show you how to create a basic virtual host file on your Raspberry Pi Apache web server. Virtual hosts are Apache’s way of handling multiple websites with each Virtual Host file setting up and configuring a particular domain.
1. Begin by running the following command to create a basic virtual host file called example.com.conf within the /etc/apache2/sites-available folder.
If you plan on using this for an actual domain name, make sure you swap out example.com with the domain name.
sudo nano /etc/apache2/sites-available/example.com.conf2. Within this file, enter the following text.
We will explain each part of the virtual host file as we go along so you can have an idea on how to set up a very basic virtual host.
<VirtualHost *:80>This line designates the start of the virtual host and that this virtual host should listen on port 80.
For those who do not know port 80 is the default port for http. Likewise, the port utilized for https is 443.
ServerName example.com
ServerAlias www.example.com
Here we add two directives to our virtual host. The first of these directives called ServerName designates the base domain. This server name is used to match the VirtualHost to a domain name.
The second directive, ServerAlias, defines additional domain names that will be matched as if they were the base domain name.
This directive is useful for matching additional names such as a www. subdomain.
DocumentRoot /var/www/example.com/public_htmlThe DocumentRoot directive defines the directory where all the files will be served from by Apache.
ErrorLog ${APACHE_LOG_DIR}/example.com_error.log
CustomLog ${APACHE_LOG_DIR}/example.com_access.log combined
In these final two directives ErrorLog and CustomLog we specify the locations where we want that log files to be kept.
</VirtualHost>Finally, we close off the VirtualHost section.
3. With everything complete, the code should end up looking like what we have below. Of course, using your domain name and not example.com.
<VirtualHost *:80>
      ServerName example.com
      ServerAlias www.example.com
      DocumentRoot /var/www/example.com/public_html
      ErrorLog ${APACHE_LOG_DIR}/example.com_error.log
      CustomLog ${APACHE_LOG_DIR}/example.com_access.log combined
</VirtualHost>
Once done, save the file by pressing CTRL + X followed by Y then ENTER.
4. Let’s now create the folder where we will be storing our HTML files. We will take ownership of this folder for the www-data group as well.
Run the following command to create the folder we need and take ownership of it.
sudo mkdir -p /var/www/example.com/public_html
sudo chown -R www-data:www-data /var/www/example.com/public_html
5. Now that we have created our VirtualHost and the folder for it, let’s go ahead and now activate it by running the following command.
This command creates a symlink for our config file between the /etc/apache2/sites-available/ and /etc/apache2/sites-enabled/ directories.
sudo a2ensite example.com.conf6. Finally, for our new virtual host file to be loaded in, we need to tell the Apache2 service to reload its configuration.
This can be done simply by running the command below.
sudo systemctl reload apache2You can now point a domain name server (DNS) to the Raspberry Pi’s public IP and have it serve files for the requested domain name. You will need to setup port forwarding to have this work correctly.
By now you should have the Apache web server running on your Raspberry Pi. You should also have a decent idea on how to setup PHP and virtual hosts on Apache.